
Grey Knights vs. Space Wolves Battle Report: 2000 Point ITC Champions Mission 1
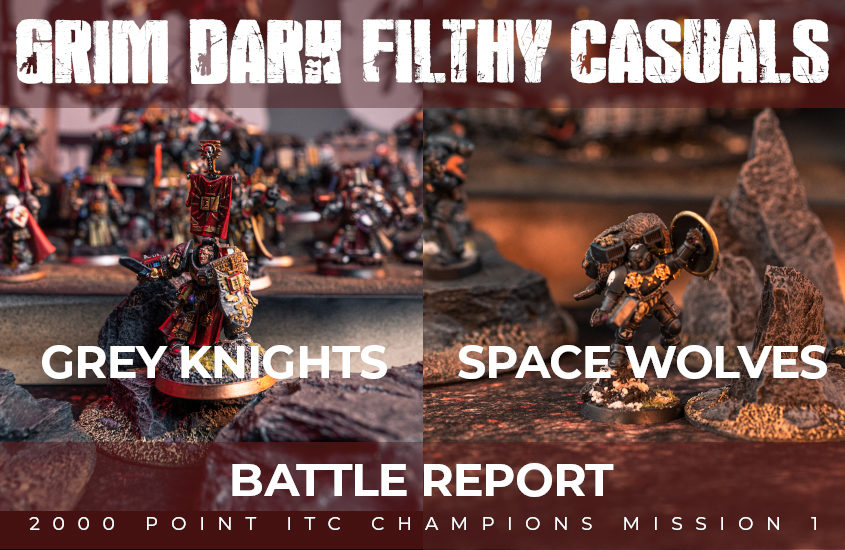
Grey Knights vs Space Wolves in a Competitive 2000 Point ITC Champions Mission Battle Report
A Brian Beat-Down Classic in this epic showdown between the Hammers of the Emperor and the Sons of Russ in a competitive Warhammer 40k 2000 point new ITC Champions Mission battle report.
Watch GDFC’s first bat rep and then read the After Action Report below for commentary from the Brians.
The Pre-Game Show
- Overview
- The Lists
- The Game Plan
Overview
Thoughts from the Filthy Casuals: We are extremely excited to bring you our first-ever Battle Report. We would love your thoughts and feedback on areas we can continue to improve and what you’d like to see from us next. There are definitely areas that we have noted that we can improve for future battle reports (namely not trying to film between 10pm – 5am in the morning). Your thoughts and feedback are really important to us as we continue to provide Filthy Casual content for all. Please watch the video before proceeding with the rest of the After Action Report.
Overview: With the cancelation of Adepticon, the Brians take a stab at the new ITC Champions Missions in this 2,000 point competitive battle report between Grey Knights and Space Wolves (prior to Saga of the Beast). This battle report will focus on some competitive aspects of the game as Brian’s Space Wolves demonstrate their strength in the charge and fight phase, while Brian’s Grey Knights focus on adapting their game plan to counter their opponent’s strategies.
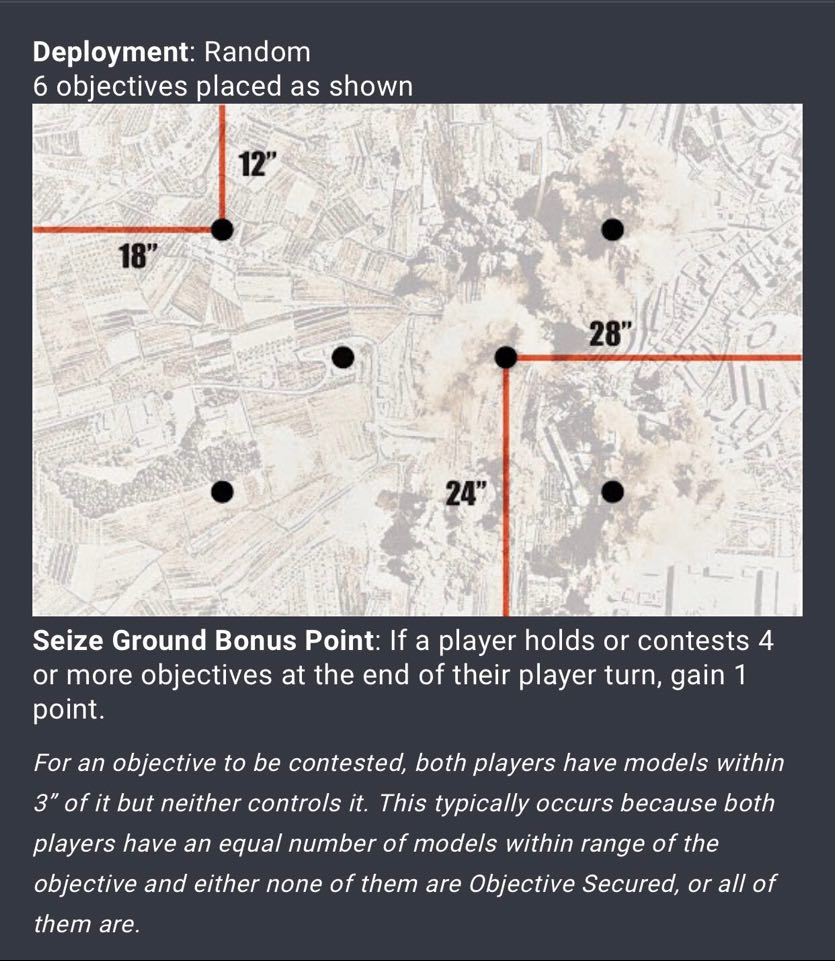
ITC Mission 1: Seize Ground
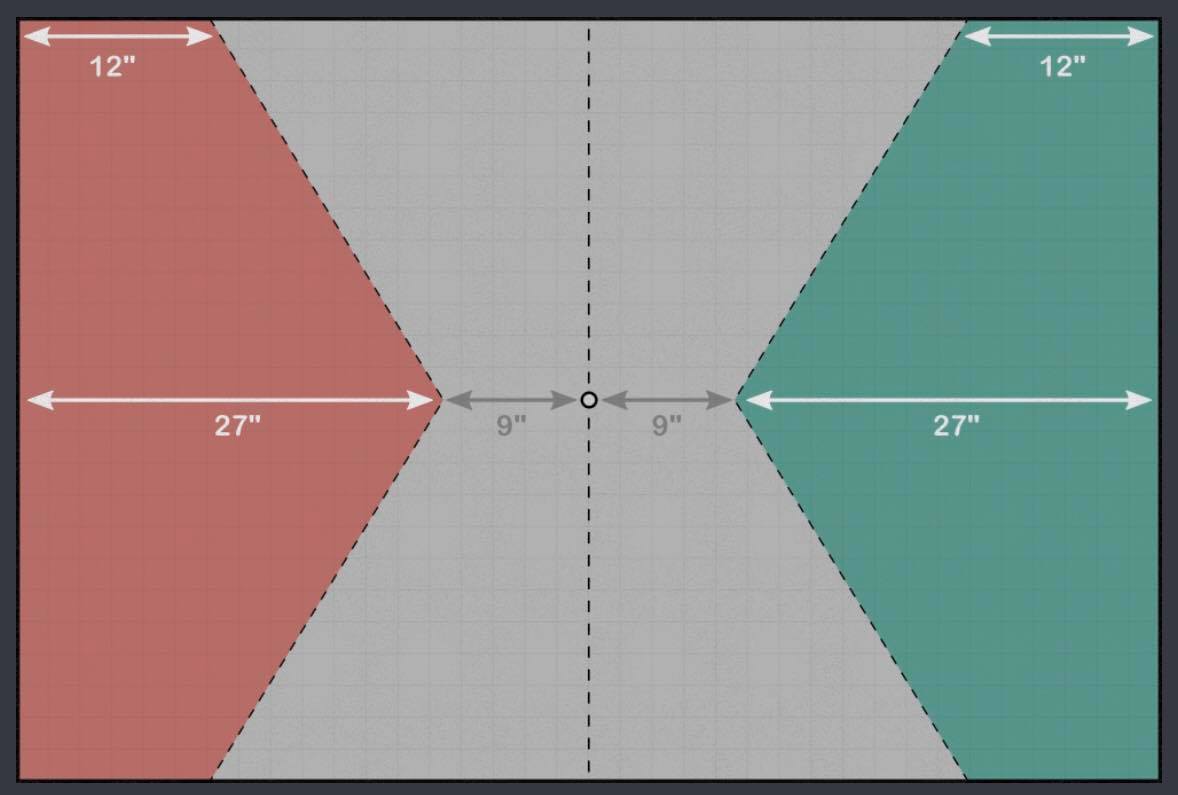
Deployment 1: Spearhead Assault
Space Wolves Secondaries: Born for Greatness, Gang Busters, and Behind Enemy Lines
Grey Knights Secondaries: Big Game Hunter, Behind Enemy Lines, Head Hunter
The Lists
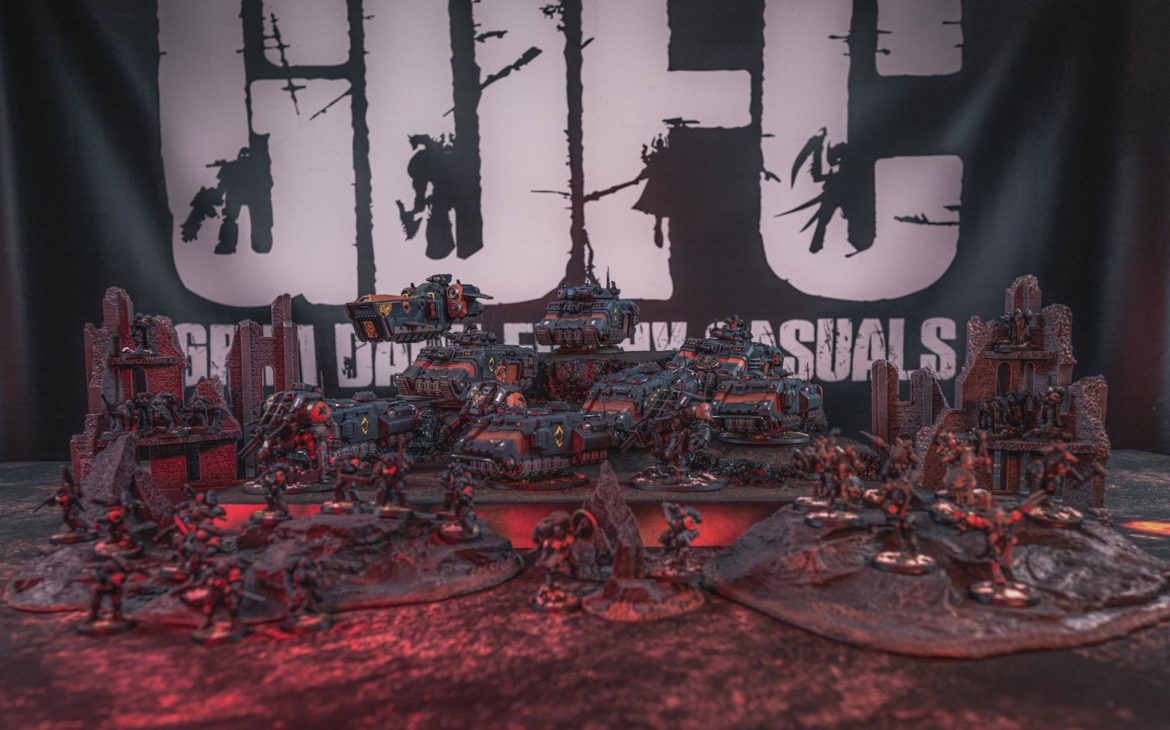
Brian Tabata’s 2,000 point Space Wolves Army “The Krakenwolves”
- Total Points: 2000
- Starting CP: 10
- Battalion:
- 143 Wolf Lord: jump pack, thunderhammer, stormshield, Relic: The Armor of Russ, Warlord Trait: Saga of the Hunter
- 77 Primaris Wolf Priest
- 95 Intercessorsx5: bolt rifles, aux grenade launcher, powerfist
- 95 Intercessorsx5: bolt rifles, aux grenade launcher, powerfist
- 100 Intercessorsx5: auto-bolt rifles, aux grenade launcher, powerfist
- 101 Impulsor: 2xfragstorm grenade launchers, shield dome
- 101 Impulsor: 2xfragstorm grenade launchers, shield dome
- 101 Impulsor: 2xfragstorm grenade launchers, shield dome
- 101 Impulsor: 2xfragstorm grenade launchers, shield dome
- Battalion: Specialist Detachment-Stalker Pack
- 128 Wolf Guard Battle Leader: jump pack, thunderhammer, stormshield, Relic: The Wulfen Stone, Field Commander: Saga of the Savage
- 70 Primaris Battle leader: power axe, bolt carbine
- 92 Primaris Wolf Lord: power fist, plasma pistol
- 99 Intercessorsx5: auto-bolt rifles, powerfist
- 106 Blood Clawsx5: Pack Leader: power axe, Wolf Guard Terminator Pack Leader: thunderhammer, stormshield
- 106 Blood Clawsx5: Pack Leader: power axe, Wolf Guard Terminator Pack Leader: thunderhammer, stormshield
- 90 Reiversx5: combat knives, heavy bolt pistols, grav chutes
- 90 Reiversx5: bolt carbines, heavy bolt pisolts, grav chutes, Pack Leader: bolt carbine, combat knife
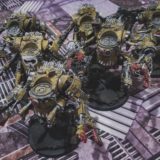
- 305 Wulfenx8: 2xfrost claws, 5xThunderhammer/stormshield, 1xgreat frost axe
I couldn’t film my first battle report without bringing some Reivers. Realistically in a more competitive list, I would drop them and the Primaris Wolf Lord for 3 units of suppressors or some equivalent shooting units. With a lack of shooting my army does become very one dimensional, but it can be a fun army to play.
The Stalker Pack specialist detachment options open up a more legitimate outflanking threat, with the Blood claws getting a semi-reliable charge with the Battle Leader triggering the 3D6 pick the two highest charge, while Wulfen provide the re-roll aura when within 12″.
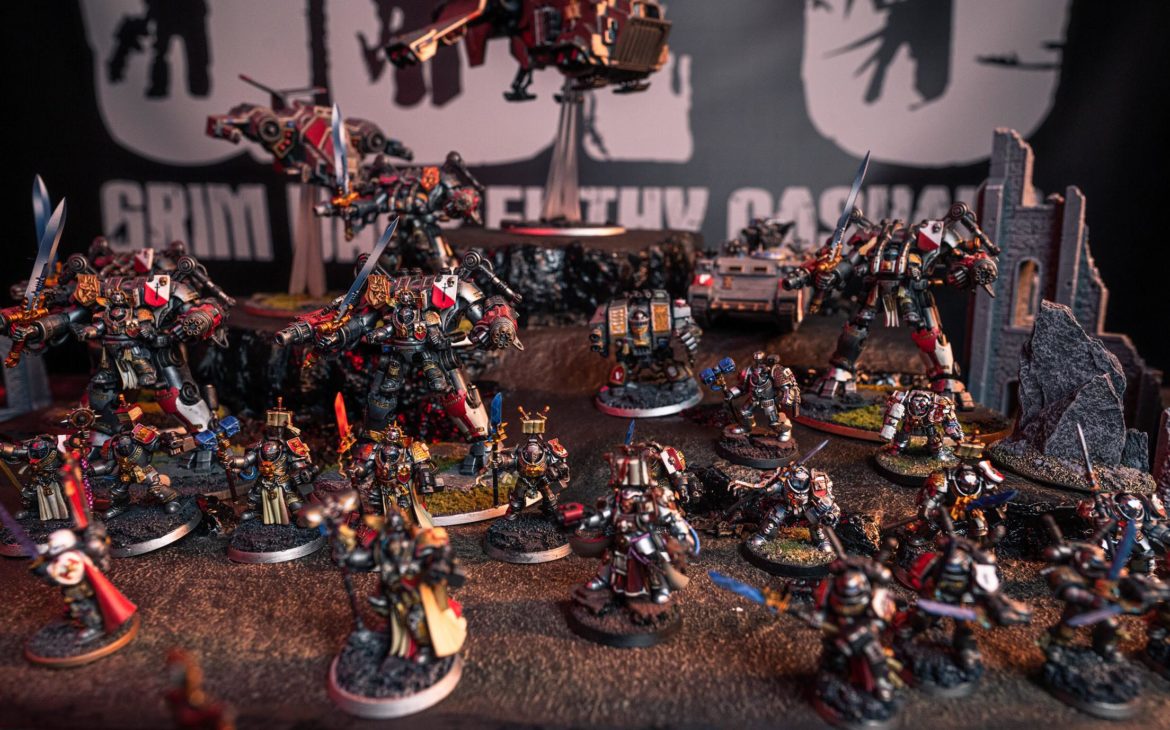
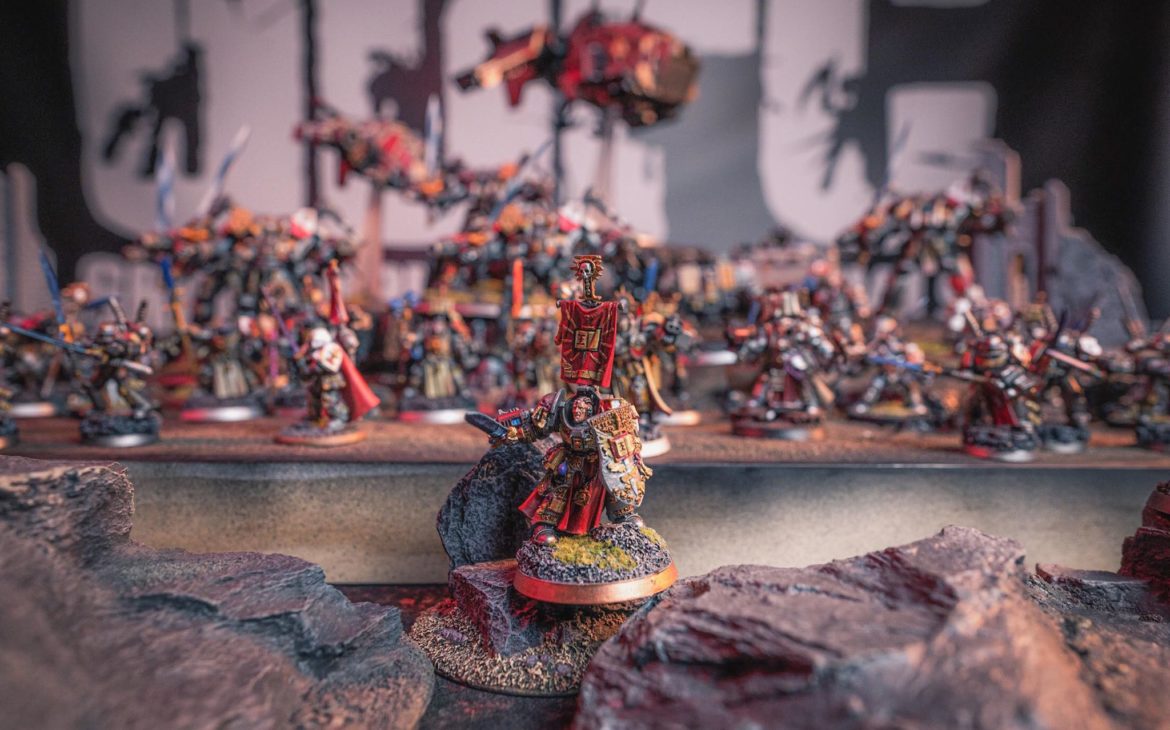
Brian Moy’s 2,000 Point “Silver” Knights Army
++ Battalion Detachment +5CP (Imperium – Grey Knights) [83 PL, 1,128pts, 7CP] ++
+ Configuration +
Battle-forged CP [3CP]
Detachment Bonuses: Show Bonuses
Detachment CP [5CP]
+ Stratagems +
Armoury of Titan [-1CP]: 1 Additional Relic
+ HQ +
Brother-Captain Stern [8 PL, 105pts]: Warp Shaping
Grand Master in Nemesis Dreadknight [14 PL, 214pts]: Dreadfist, Gatling Psilencer, Heavy Psycannon, Nemesis Greatsword, Sanctuary
Lord Kaldor Draigo [12 PL, 180pts]: Hammerhand, Sanctuary
+ Troops +
Strike Squad [7 PL, 89pts]: Gate of Infinity
. 3x Grey Knight (Halberd): 3x Nemesis Force Halberd, 3x Storm Bolter
. Grey Knight (Psycannon): Psycannon
. Grey Knight Justicar: Storm bolter
. . Nemesis Force Halberd: Nemesis Force Halberd
Strike Squad [7 PL, 86pts]: Gate of Infinity
. 3x Grey Knight (Halberd): 3x Nemesis Force Halberd, 3x Storm Bolter
. Grey Knight (Psilencer): Psilencer
. Grey Knight Justicar: Storm bolter
. . Nemesis Force Halberd: Nemesis Force Halberd
Strike Squad [7 PL, 89pts]: Gate of Infinity
. 3x Grey Knight (Halberd): 3x Nemesis Force Halberd, 3x Storm Bolter
. Grey Knight (Psycannon): Psycannon
. Grey Knight Justicar: Storm bolter
. . Nemesis Force Halberd: Nemesis Force Halberd
+ Elites +
Apothecary [5 PL, 88pts]: Armoured Resilience, Sanctic Shard
. Nemesis Daemon Hammer: Nemesis Daemon Hammer
+ Fast Attack +
Interceptor Squad [16 PL, 188pts]: Astral Aim
. 8x Interceptor (Falchions): 16x Nemesis Falchion, 8x Storm Bolter
. Interceptor Justicar: Storm bolter
. . Nemesis Force Halberd: Nemesis Force Halberd
+ Heavy Support +
Purgation Squad [7 PL, 89pts]: Gate of Infinity
. 4x Purgator (Psilencer): 4x Psilencer
. Purgator Justicar: Storm bolter
. . Nemesis Force Halberd: Nemesis Force Halberd
++ Supreme Command Detachment +1CP (Imperium – Grey Knights) [63 PL, 872pts, 1CP] ++
+ Configuration +
Detachment CP [1CP]
+ HQ +
Chaplain [8 PL, 107pts]: 5. Recitation of Projection, 6. Invocation of Focus, Astral Aim, Storm bolter
Grand Master in Nemesis Dreadknight [14 PL, 224pts]: 4: First to the Fray, Dreadfist, Dreadknight teleporter, Gatling Psilencer, Heavy Psycannon, Nemesis Greatsword, Sanctuary, Warlord
Librarian [9 PL, 101pts]: Artisan Nullifier Matrix, Edict Imperator, Empyrean Domination
. Nemesis Warding Stave: Nemesis Warding Stave
+ Elites +
Paladin Squad [32 PL, 440pts]: Gate of Infinity
. 7x Paladin (Halberd): 7x Nemesis Force Halberd, 7x Storm Bolter
. 2x Paladin (Warding Stave): 2x Nemesis Warding Stave, 2x Storm Bolter
. Paragon: Storm Bolter
. . Nemesis Force Halberd: Nemesis Force Halberd
++ Total: [146 PL, 8CP, 2,000pts] ++
I’ve been playing this list since the release of Ritual of the Damned. Admittedly, it’s not fully optimized as I’m currently finishing 15 more Strike Marines and another Paladin bomb. However, I do feel that it has a lot of tools and does a nice job of taking advantage of Tide of Escalation and Tide of Convergence. The characters are able to put out a good amount of smites and Purgation Squad, Paladins, and Interceptors make good use of Psychic Onslaught and Psybolt ammunition. I’m also fond of the Grand Masters in Nemesis Dreadknights. While not top-tier competitive anymore, I do love how they can operate independently and fill multiple roles on the battlefield. One change I’ve made is to equip the Librarian with the Artisan Nullifer Matrix and put the Sanctic Shard on the Apothecary to have two units with higher probability of casting their spells. In future iterations of the list, I will tinker around with who gets the Shard, but for today, it’s on the Apothecary.
The Game Plans
Space Wolves
It will be an uphill battle for sure. I always prefer to start Wulfen on the board when they can, but the terrain layout does not let me do that. The crates provide a big problem in that I cannot charge through them, and the Grey Knights have the perfect counter to them, high volume shots (that happen to be able to go to 2 damage). Wulfen can survive high powered weapons, but not potentially 80 shots a turn that they may face running up the board.
This leaves me with one option, to deep strike them. Grey Knights have very little screen to start so I should be able to have room to arrive from a board edge. I can send the Blood Claws along as well as the Reivers. While it’s more likely for the Wulfen to fail their charge (just under 50%), outflanking them with significantly raises my chances that at least one will, which can hopefully stall the Grey Knights until I can get my Wulfen into his lines.
If I can keep my troops inside of my transports when all of the strike squads arrive, I will have a good counter-punch to really dwindle his forces. While the Grey Knights have very good offensive output now, they are still a glass cannon army. In a straight shootout, my intercessors should win the day, so if I can make him expend resources to crack open my transports I may be in good shape.
Grey Knights
Being the “intermediate” player that I am, I tend to focus on very simple game plans that allow me to focus on execution rather than trying to get too fancy. Overall, the battlefield really does benefit me with the number of areas that block line of sight. Ideally, I will be able to take advantage of Astral Aim and Tide of Convergence to lay down some pain with the Purgation Squad, Paladins, and Interceptors to drop the Impulsors midfield. At that point, I have a feeling Brian will be putting a ton of things into deep strike or outflank. Since I don’t have a lot of screening, I may need to use the Paladins to screen while protecting my Purgation squad and characters to lay down a hail of fire to take down all of his outflanking threats.
I’m very happy to give up Hold More and a Bonus point the first two turns to gain those back turns 4-6, especially if I can keep pace with Kill and Kill More while denying kills.
Since Brian doesn’t have too much shooting on the board, especially anti-tank, I feel relatively safe starting some of my heavy hitters on the board and not in deep strike.
The After Action Report
- Game Defining Moments
- Takeaways
- Closing Thoughts

Game Defining Moments
Space Wolves
The denies turn 1 and 2 were absolutely huge. You also cannot ask for a bigger charge phase with everything making it from deep strike! That really set the tone for the early game, putting the Grey Knights on the back foot.
Another big swing in the game was Draigo going into combat with the two remaining Bloodclaws. I needed a risky play to bring me back into the game, and if they win that duel I can actually go on to win that game. Unfortunately they didn’t, but victory was just one failed 3+ away.
Grey Knights
When Brian locked me out of the Tide of Convergence on Turn 1 and 2, I really had to commit to shifting my game plan to take advantage of smites and focus on the mission to get as many points as possible. A critical moment in the game was on turn 2 when Brian denied my ability to use Edict Imperator to clear out his Blood Claw screen protecting his Wolf Lord and Battle leader. At that moment, I panicked a little bit and then remembered that Grey Knights have a ton of tools. I flipped the script and decided to smite out the screen and then remove the characters via shooting and combat.
Takeaways and Lessons Learned
Space Wolves
Ultimately I failed to take the victory, and I think there are 2 mistakes that could have helped me maintain the momentum from turns 1 and 2.
- Failing to kill the Grand Master Nemesis Dreadknight turn 2: I pulled the Impulsor away from the Dreadknight to get some fire onto the Purgation Squad. I was really hoping to do more damage than killing 1 model in that unit, so ultimately that gamble was not worth it. It probably wasn’t necessary. This led to the Primaris Wolf Lord dying in overwatch, which also could have been avoided by spending the CP to reroll one of the 3+ saves. That scared me off a little bit and I should have put my Wolf Lord with thunderhammer into him. While the Grey Knights would spend 2 CP to interrrupt, it is forcing his CP usage and its not a guaranteed kill since my Warlord has a 3+ invulnerable save. Worst case he dies and I can still fight on death to bring him down. If my warlord survives and brings down the Dreadknight he is now much more protected from the smite bomb hitting me next turn.
- Incorrectly placing models in the turn 2 combat: It’s very easy to get caught up in the thrill of combat and forget about all the deepstrikers coming in the next turn. I needed to keep a few Bloodclaws back to limit what could come in, as the only important models are the power axe and terminator with thunderhammer. I also needed to get my characters embedded into the Wulfen squad for mortal wound protection. Instead of choosing to pincer the Paladins with the Wulfen I should have gotten them closer to within character range to make this possible. It will also be worth considering 3 CP on the Wulfen to let them fight again purely for the extra movement.
Grey Knights
One of the Grey Knights biggest strengths is our ability to interact in every phase of the game. Good Grey Knights lists will maximize our output across every phase of the game. Brian did a real nice job of taking away my primary shooting output, but I was able to do a good amount of damage in my Psychic and Fight phases, and ultimately, playing to the mission and focusing on the long game helped the Grey Knights prevail.
Couple of key takeaways below:
- Screening: I think I could have started with the Strike Marines on the table and used them to screen out instead of the Paladins. Had I done this and then kept my Paladins and characters more than 7″ away from the Strikes, I wouldn’t necessarily need to fear the Wolves getting into my lines and could have dealt with them with shooting and Smites. It will be nice when I have a second battalion of Strike Marines at my disposal for more CP as well.
- Organized Thoughts: There is so much going on when playing Grey Knights: Order of operations of spells in the psychic phase, thinking phases ahead while moving to maximize positioning for psychic phase, shooting, charges, and fights. It is critically important as a Grey Knights player to incorporate redundancies and find ways to streamline your gameplay.
For example, we realized that we never applied Armoured Resilience to the Paladins when the Wulfen got into them in turn 2. While I do have custom cards to help remind me of all the powers, Grey Knights have so much going on when you consider Psychic abilities, Stratagems, Litanies, and such. Playing Grey Knights can be mentally taxing as well as an unforgiving army to play. It will be important to try and keep your rules straight in order to be efficient with time, but to also to not short-change yourself or your opponent on any rules.
Overall, it was a really fun game and I can’t wait to round out my Grey Knights army with the additional Battalion and some other supplemental units. I’m also extremely excited for Brian to see how he’s able to put all his new toys to use from Saga of the Beast. We will have to have a rematch very soon!
Closing Thoughts
We hope you enjoyed GDFC’s first battle report. We would love to hear your thoughts so please leave us a message in the comments to let us know what you liked, what you didn’t like, how we can improve or what you’d like to see next.
Also, a like and subscribing go a long way to supporting our Filthy Casual content, and we greatly appreciate your encouragement and support.
Again, thanks for watching and please let us know what you’d like to see from us in the future! Please follow us on the usual social platforms to stay current with the latest GDFC releases and be sure to check out our #GDFCShowcase challenge that we are running for a chance to win some exclusive GDFC battle swag.
- Twitter: @GDFilthyCasuals
- Instagram: grimdarkfilthycasuals
- Facebook: grimdarkfilthycasuals
- Youtube: GDFC Youtube Channel

is the founder of Grim Dark Filthy Casuals, Assistant to the Editor in Chief, Author, Content Director, Resident Emo Aeldari Player, and Chief Filthy Casual
John Cogan
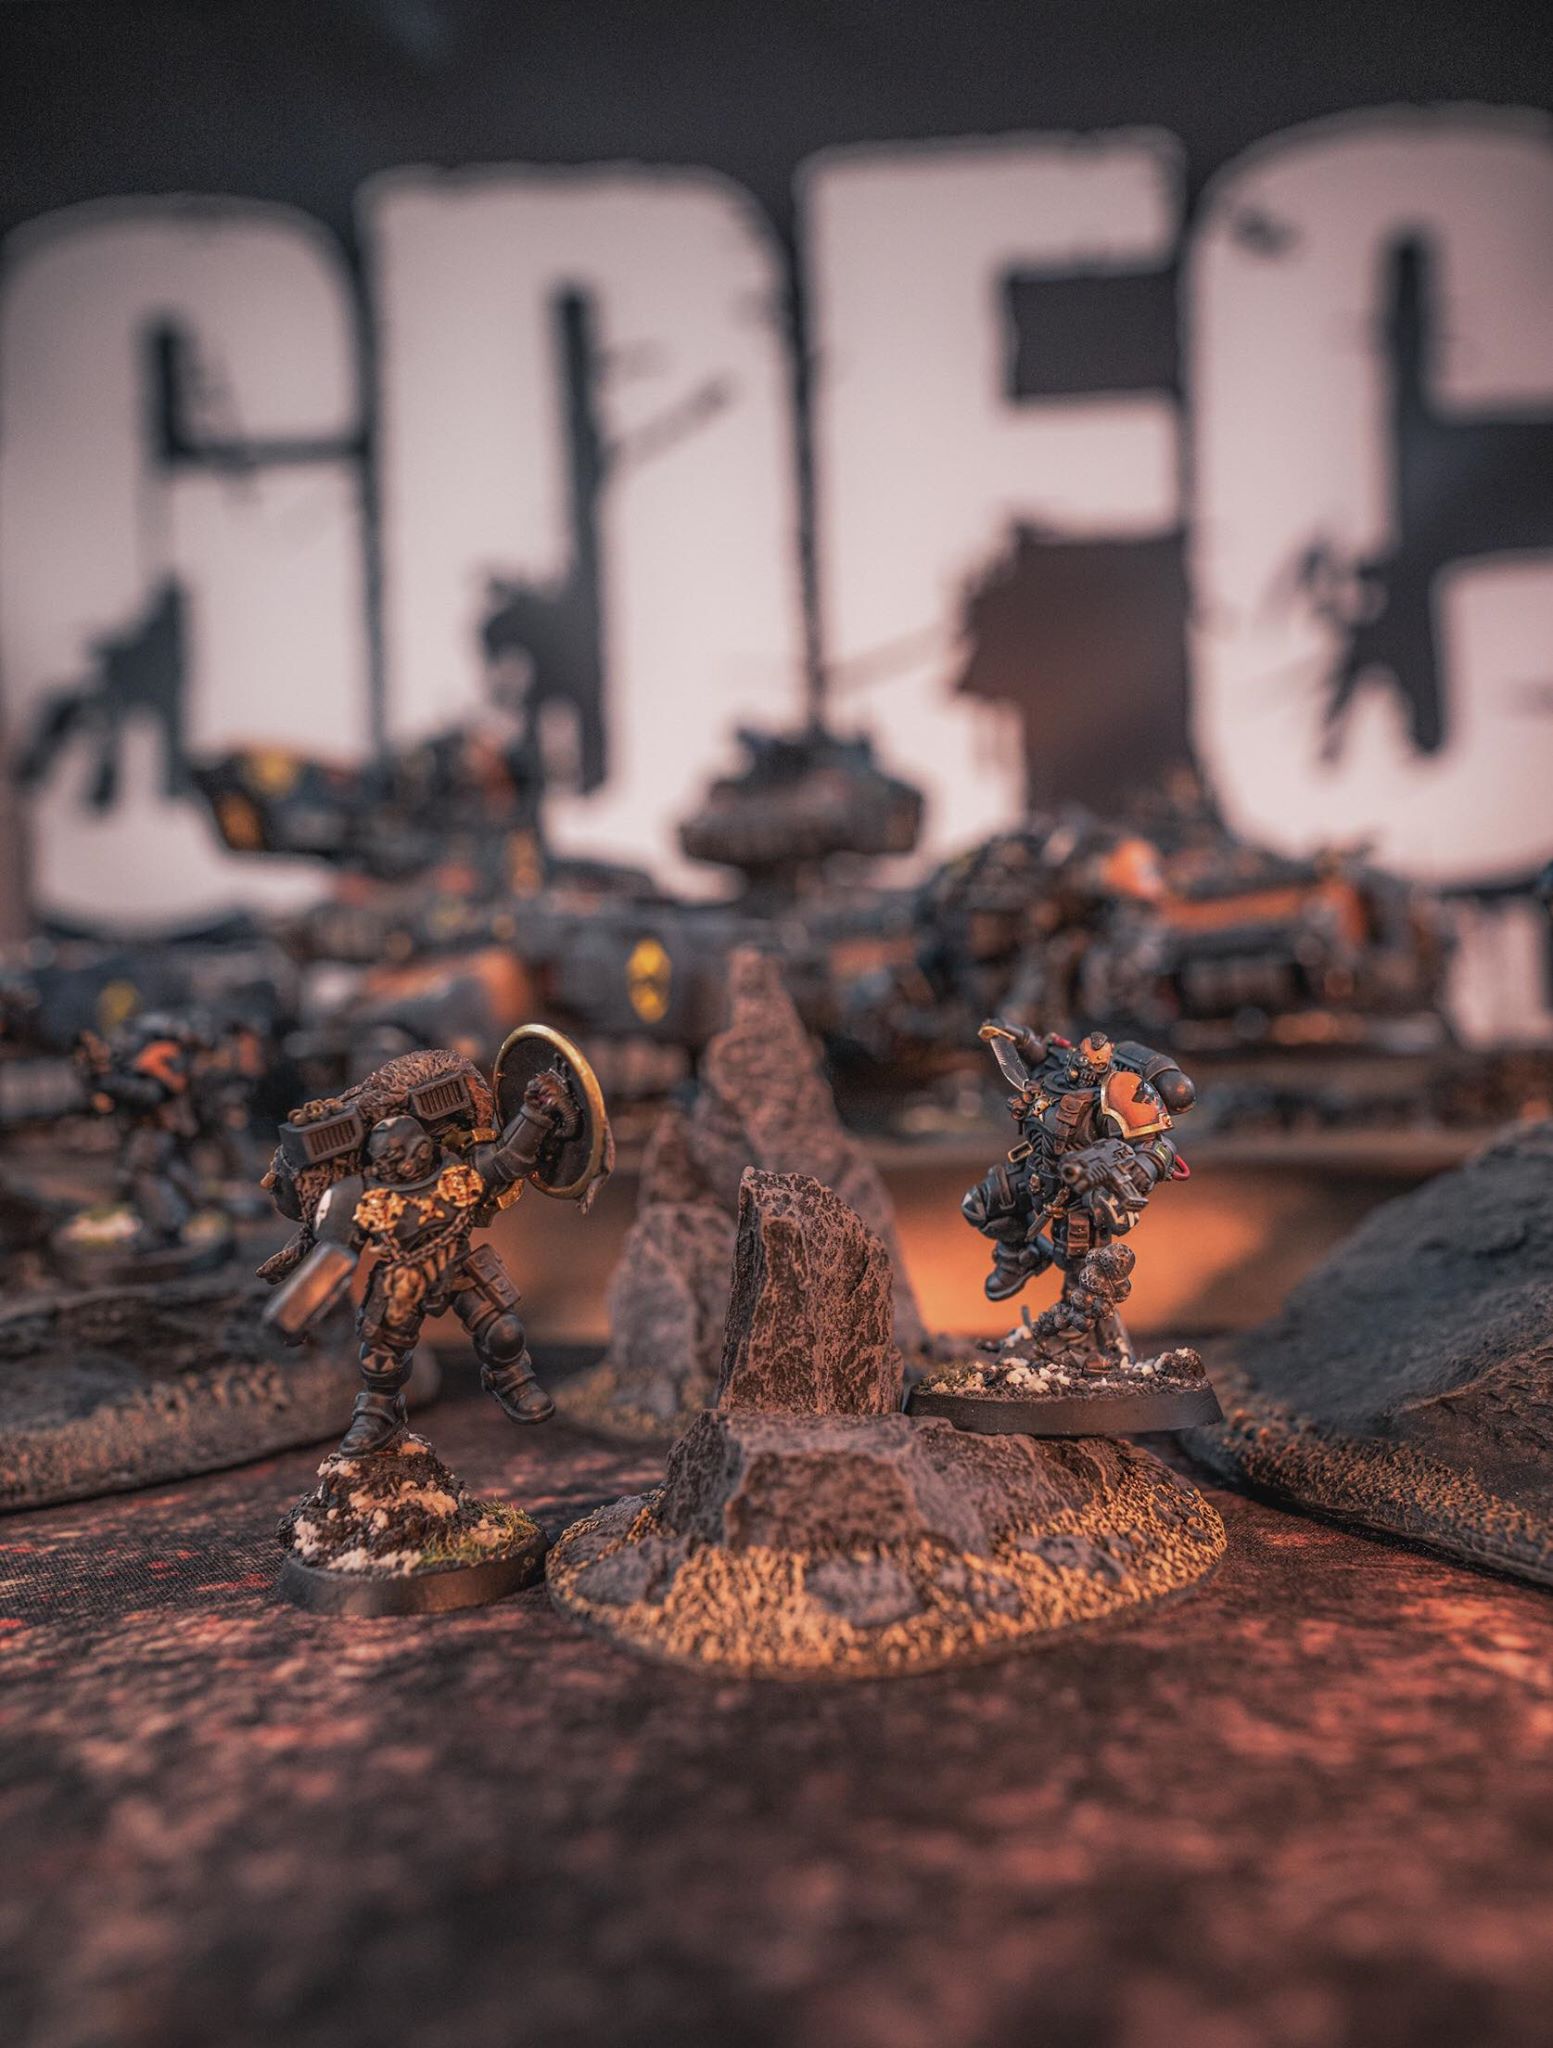
What paint scheme and colors were uses to paint the space wolves?
John Cogan
Brian Tabata
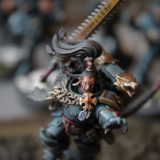
Black prime with a zenithal highlight in grey/light grey.
Incubi Darkness glaze
A very thin glaze of vallejo blue ink
Vallejo Air color pale blue for highlights/bringing up the contrast. You can also mix in white to Incubi Darkness.
John Cogan
Thanks man. Did you paint them with an airbrush?
Best paint scheme I’ve seen anywhere!
Brian Tabata
Airbrush for the base layers and such. Brush for highlights and additional details/blending.